Installing a Light Kit
This is a guide for installing the light kit sold in my store. Click more info for the full guide
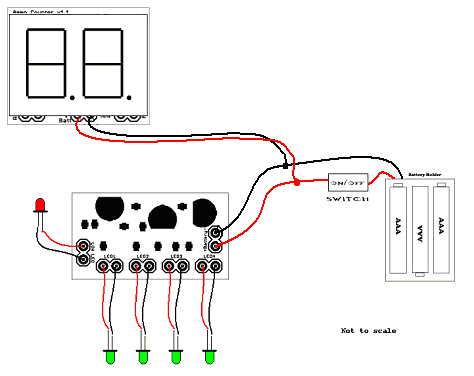
Connecting the battery
Wire the board to the existing battery in your project. The red wire from the battery holder is the positive wire, connect it to the + battery terminal on the AR_Light board. The black wire from the battery holder is the negative wire, connect it to the – terminal on the AR_Light board.
Wiring the LEDs
Note:
There are two ways to connect each LED, but only one is correct. You cannot break anything by connecting an LED backwards. If it doesn’t light up, simply flip it the other way around.
Orientation Note
To connect an LED the proper way the first time, note on the Light Board that each LED connector is marked + and -. Also note the LED leads, one is long the other is short. The long lead connects to +, the short lead connects to -.
Color Sorting
If you received clear LEDs in your kit, you must first identify which LED is which color before permanent soldering them to the Light Board. With the Light Board connected to the battery and powered place an LED into one of the LED connectors. Sort the LEDs with the green LEDs in one pile and the red LED in another pile.
Wiring Steps
- Using a soldering iron, solder all of the LEDs to wire pairs. Use the above picture for reference.
- Next, connect one of the wire pairs to its corresponding LED connector (see orientation note). After you have determined the correct orientation (it lights), solder it permanently into place.
- Repeat step 2 with the remaining LEDs.
- Use heat shrink tubing or electrical tape over any bare wires to keep leads separated and protected.