Fake Window – Smart Room Light
This is an overview of my Smart LED Window, based on an instructable by dannyk6. I took mine a step further by adding Alexa voice control and IFTTT day/night schedule. The wife picked the valance fabric.
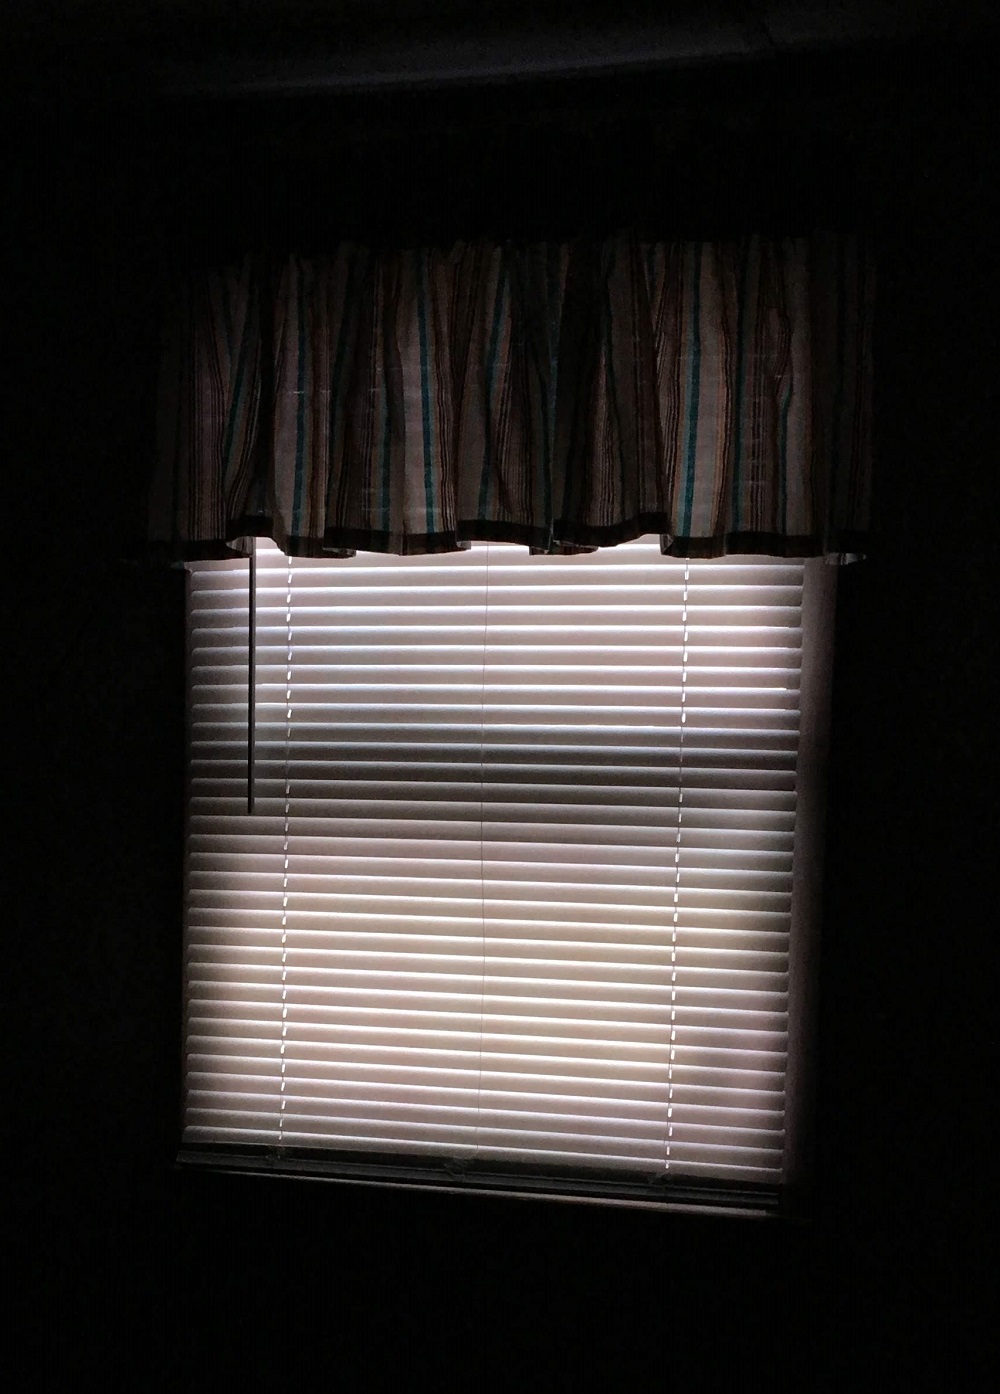
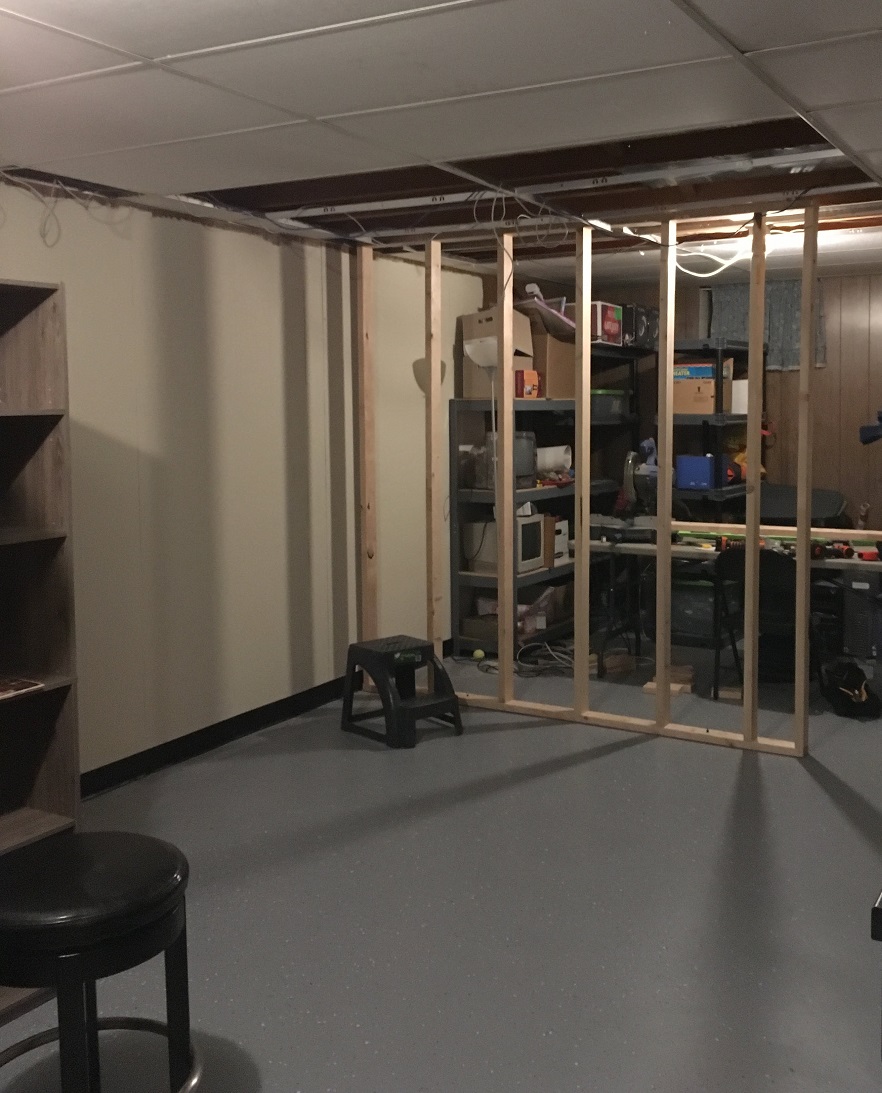
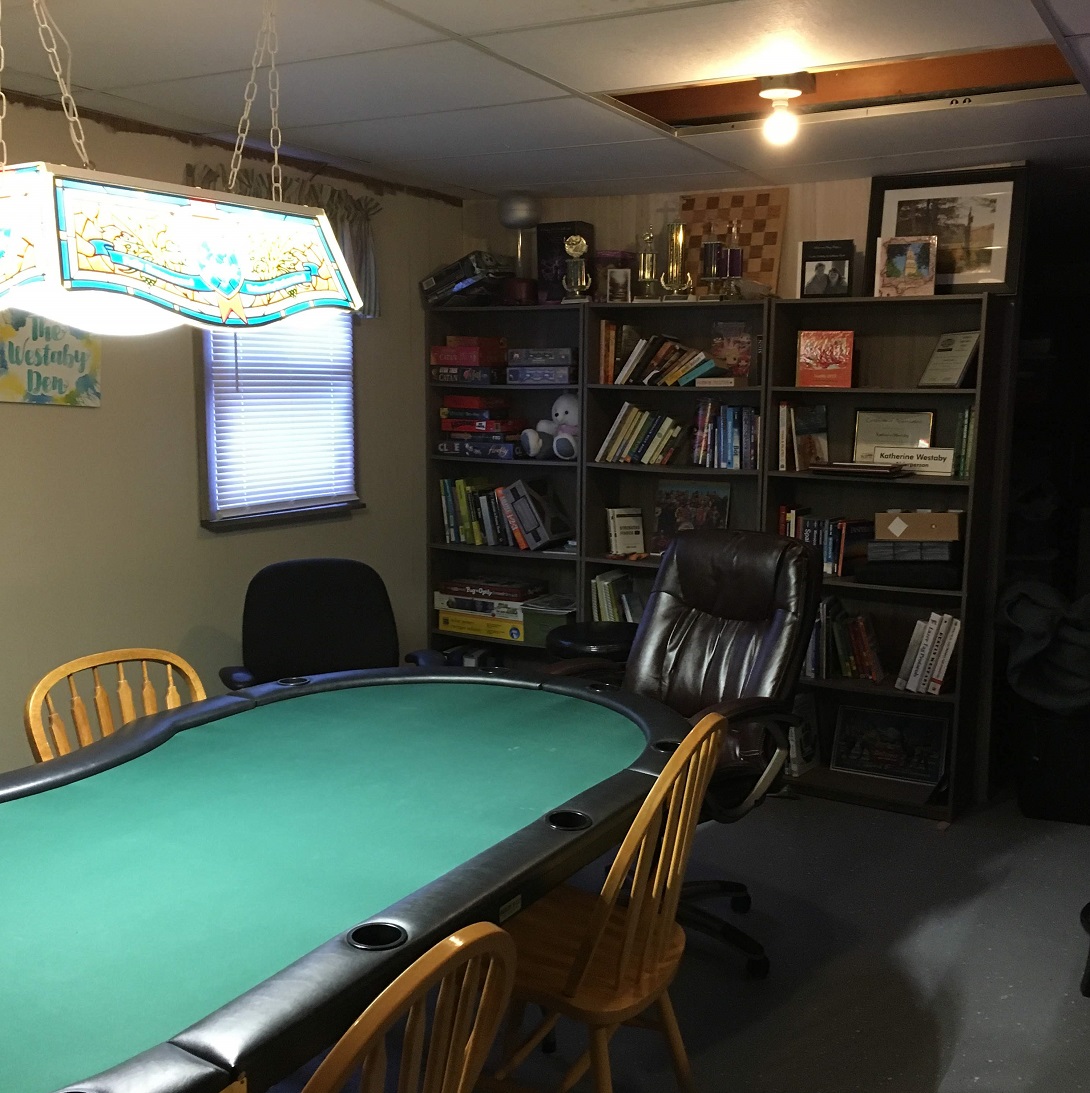
After remodeling my basement, I was left with the main area that had no natural light source. I didn’t like the idea of adding more nightlights, I could do better. I really wanted a flat panel tv linked to an outdoor camera, so you could see the front porch in real time. I could have the tv mounted vertically and dressed up to look like an actual window. I tried to design this Camera Window a few times on paper, but never came up with anything I liked. The glow from a TV won’t look like natural light in a room.
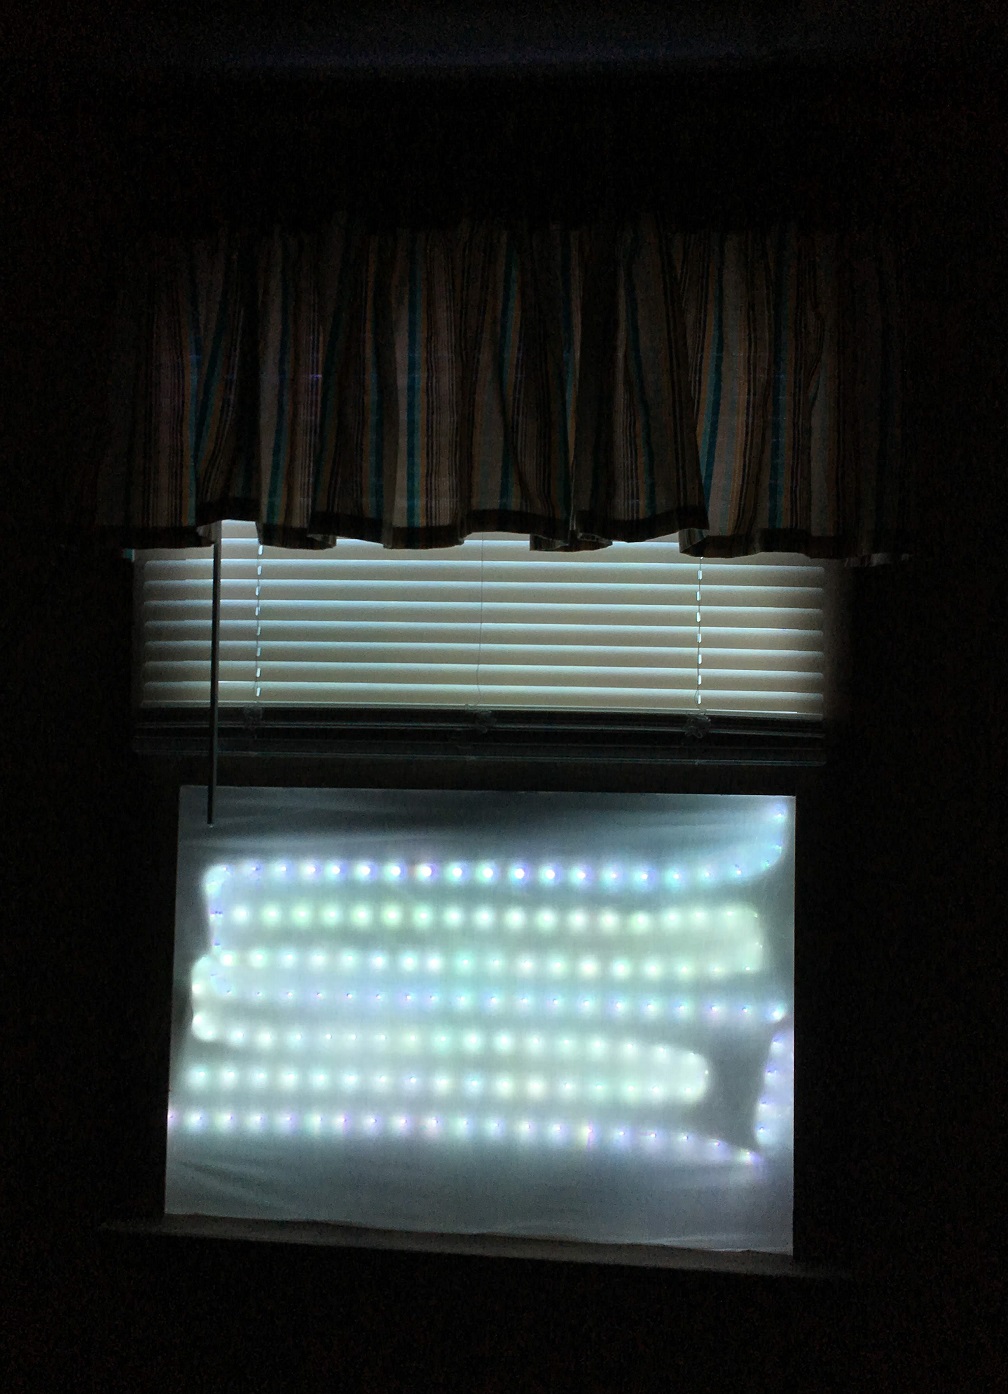
This Smart LED Fake Window is a good compromise. The 32 feet of LED Strip provides plenty of light. The LED color is set to look like natural sunlight. I have an ITFFF recipe linking the Weather Channel’s Sunset and Sunrise triggers to the LED’s color and brightness. Automated daylight to nightlight cycle. The Alexa commands and phone app allow me to override the schedule with any color and brightness I want.
Supplies:
- 1×3 10′ Lumber
- 1×4 8′ Lumber
- 10′ Trim
- Miter Saw
- 1 1/4″ nails
- Stain (color to match other room trim)
- Two sheets of Tag Board
- Shiny Aluminum Foil
- Double Sided Tape
- 2 yards of White fabric (higher thread counts are better)
- Staple Gun
- 3/8″ Staples
- 10 meters of Smart LED Strip (Alexa + IFTTT compatible)
- Aluminum Tape
- Cordless Window Blind
- Curtain Rod
- Window Valance
- 16 lbs Velcro Adhesive Strips
I went with Select lumber from Menards, as I find it is a little nicer to work with on small projects like this. The trim I picked was a 1/2 inch wider than the 1×3 boards, so I would have a nice inside corner later to staple the fabric to.
Assemble Frame
Figure out how large you want your window. I went with 30×44 inches. Cut the 1×3 boards to make the box frame. Then cut the trim pieces to fit over top. Hammer nails into the back of the 1×3 frame into the trim. You may want to lay down some cardboard to keep the trim from getting marred up. When you have a solid frame, add a coat or two of stain and let dry.
Optional: use a miter saw to angle cut the trim pieces.
Optional: use some extra 1×3 board to add a center rail.
Assemble Reflector
Lay the tag board along the back, and tape together into one sheet. Match the dimensions of the window so you can tape it to the back later. Lay out the sheets of aluminum foil and use the double sided tape. Cover one side of the tag board with aluminum foil, shiny side facing out.
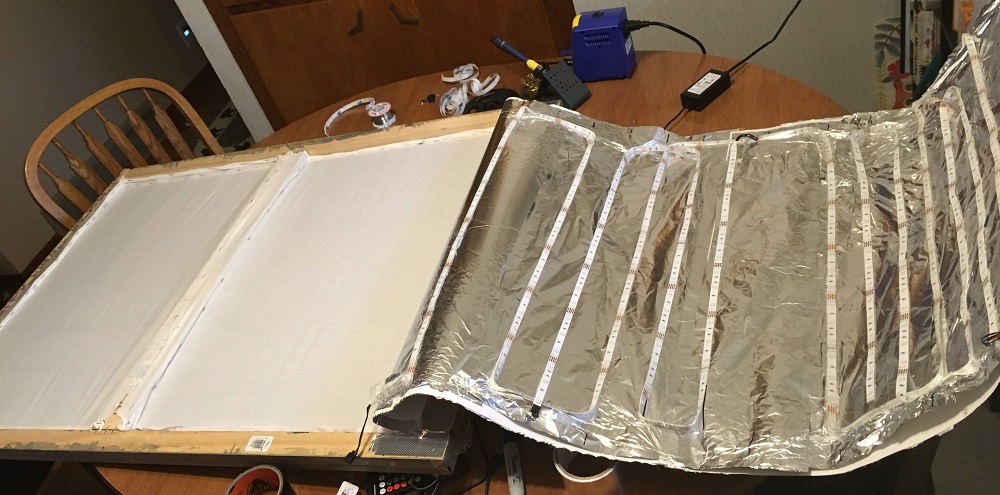
Mount LEDs
Place the frame over the reflector. Mark the inside frame edges on the reflector, so you can see where the lights need to be placed. Measure the space and determine how close the LEDs can be placed before you run out. I went with a spacing of 2.75 inches, making 4 LED strips above and 5 LED strips below my frame’s center rail. Leave enough cable length to plug in the LED control module from outside the window. Peel the LEDs and stick onto the aluminum foil, following a snaking pattern along your marked spacing. Power up the LEDs to make sure everything is working right.
Note: Using a waterproof LED strip is important. As you mount the LEDs, all the twists and folds will inevitability cause the circuit portion of the strip to touch the aluminum foil and short out. The waterproof coating keeps the LED strip face from shorting out when it touches the aluminum foil.
Note: At first I started with 16 feet of LED strip and a spacing of 5.5 inches. Matching the source instructable I followed. The gaps proved to be too wide for my reflector / diffuser to handle. Leaving me with large darkened areas between the light strips. I then picked up a second roll of LED strip, giving me 32 feet total. The light coverage is much better now.
Mount Diffuser
Lay the window frame face down. Cut the fabric, so it covers the window frame with some overhang. We will trim the fabric later. To install the fabric, use a staple gun. Staple one side of the fabric down, with a staple every inch or two. Then before stapling the second side, use your hand to stretch the fabric TIGHT. Repeat. Staple first side, stretch fabric to the second side, staple second side.
Once all the staples are in place if the fabric still looks too loose, you can use a pliers to pull some of the staples and try again.
Mount Reflector and LEDs
I used aluminum tape to install the reflector to the back of the window frame. We want to block any light from escaping from the back and disturbing the illusion.
Final Cleanup
Install the blind, curtain rod, and valance. Mount to the wall. I used velcro to mount so the window frame wouldn’t move around, but I could still pull down in case of maintenance.
Here are my IFTTT recipes