Cleaning Water Damaged Circuits
This guide will attempt to walk you through how to fix water damaged circuit boards using a dish washer and some caution. I wrote this guide while doing research to clean my own water damaged main board.
Most people should be able to follow this guide, but if you don’t have experience with electronics be warned; you can permanently damage the many individual components by exposing them to water like described by this guide.
Don’t follow this guide if you still have options for service. Check your warranty with the store you bought it from, the manufacturer’s warranty, and even your credit card company may have water damage insurance built in. If you are truly at the end of your options, proceed. It’s already nonfunctioning so you can’t make things much worse by trying.
Explanation: A water damaged board can be identified by the white salt residue left from the dried water. Any high school science teacher will tell you that it’s not the water that conducts electricity it is the impurities like salt. When the water dries it leaves behind the conductive salt that will short out the board.
This salt is also corrosive, and the longer that the salts sit on the board the more the board’s traces will corrode.
The salts will also attract more water vapor to collect and dry bringing more salt residue. This causes water damaged areas to grow over time.
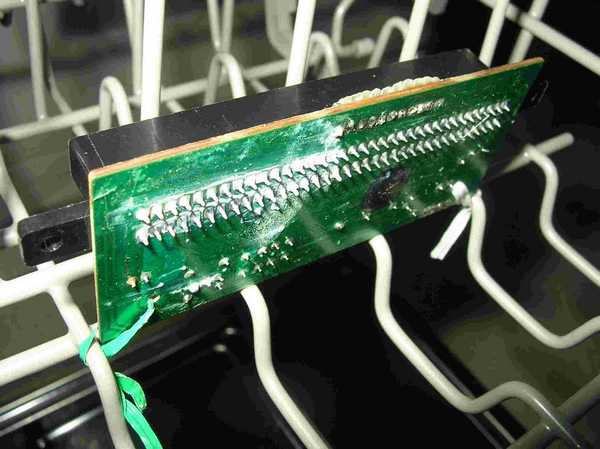
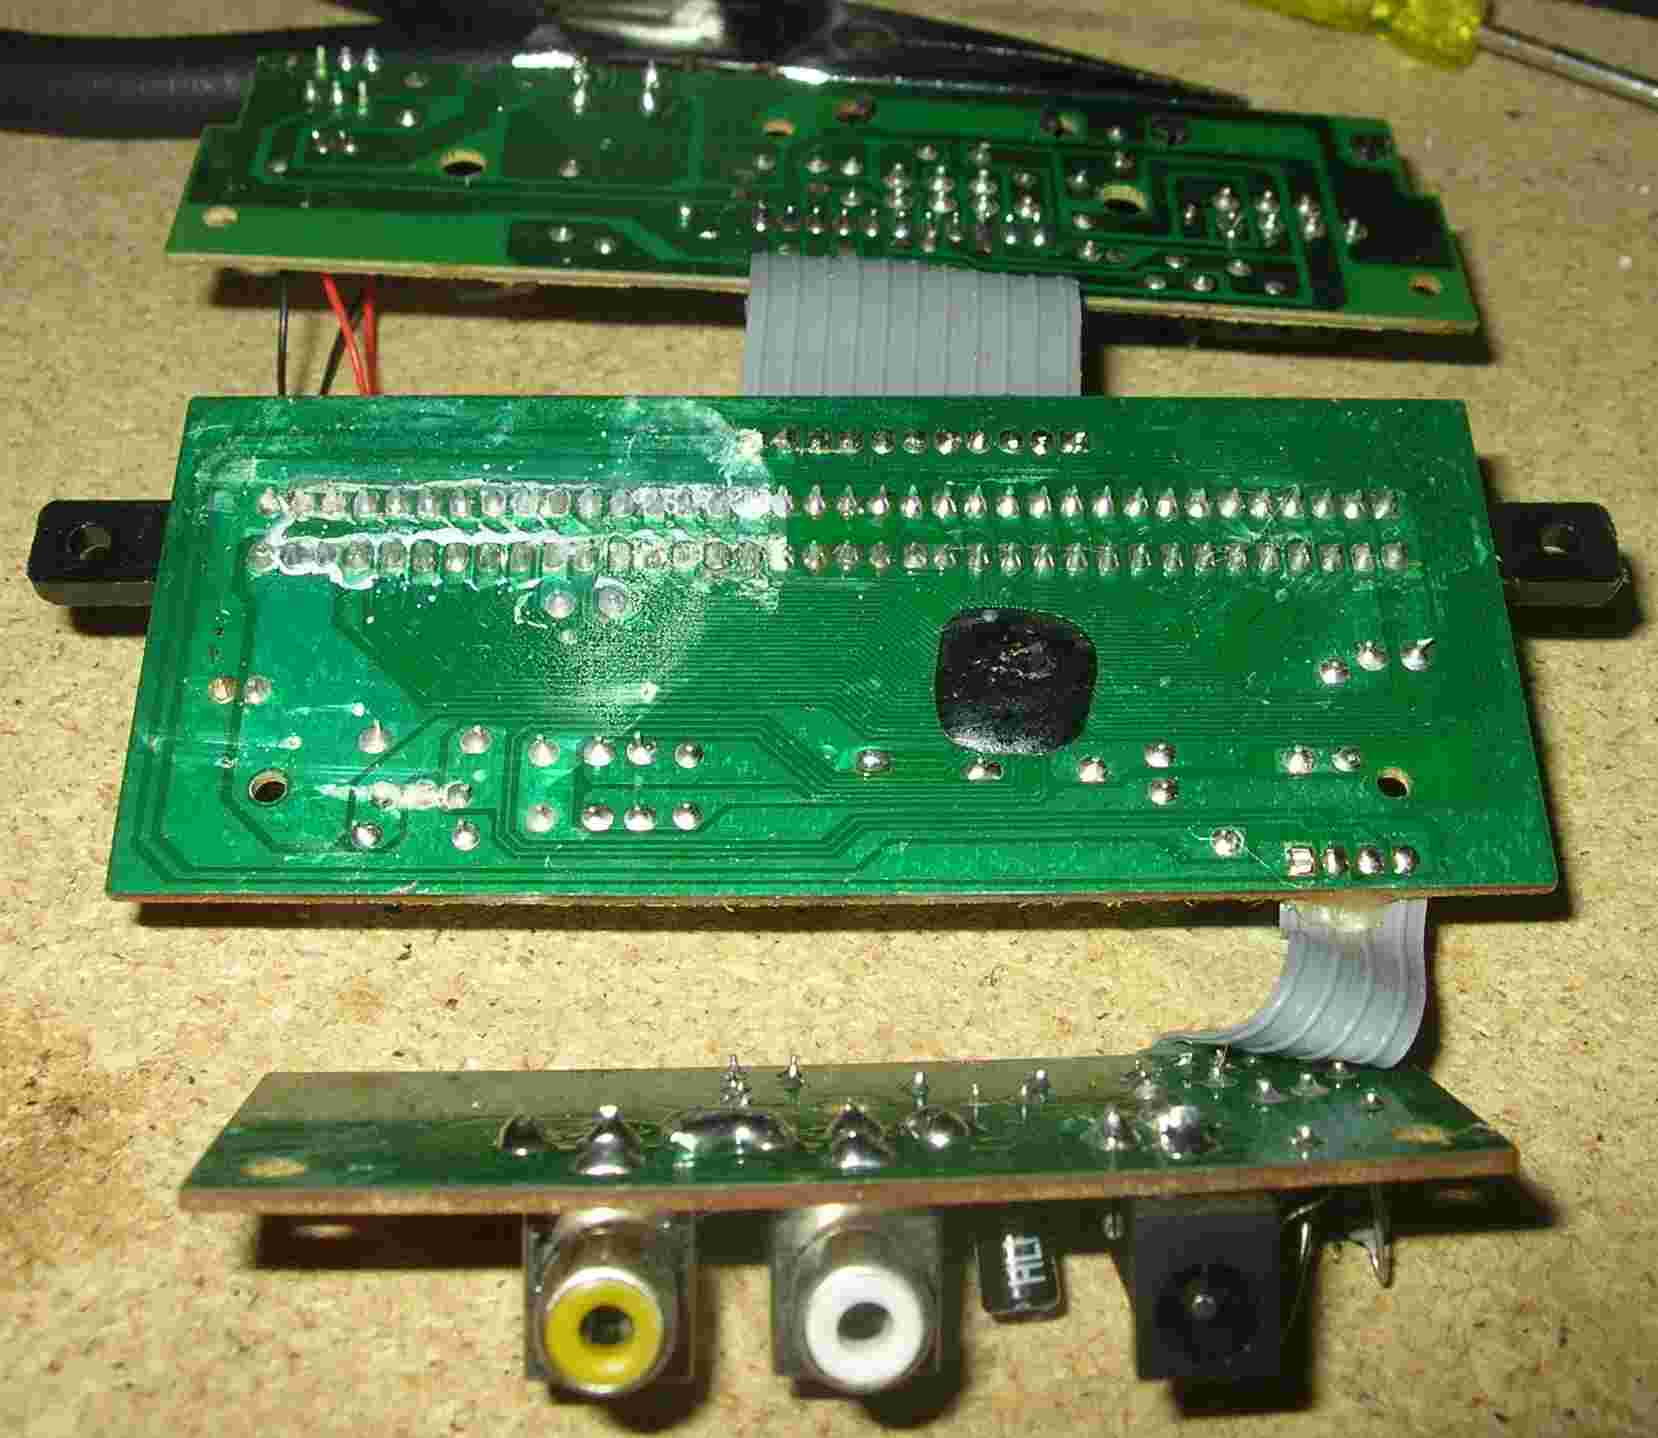 Example: The board pictured here is from a FC clone machine and my brother left it sitting for about 3 months after having soda splashed into it. The board no longer powers on.
Tools Required:
- Dish Washer
- Bristle Brush (tooth brush)
Tools Optional:
- Conventional Oven
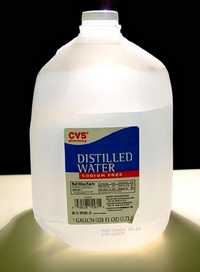
- Non-Conductive Cleaning Solution (Distilled Water, Pure Alcohol)
- Solder Iron
- Flux (Solder Cleaner)
- Desolder Gun
Step One
 The first thing you want to do is identify any components on the board that are not waterproof. This includes switches, buttons, and other partially sealed components.
Explanation: These components must be removed from the board before continuing or water will collect in their crevices during the procedure.
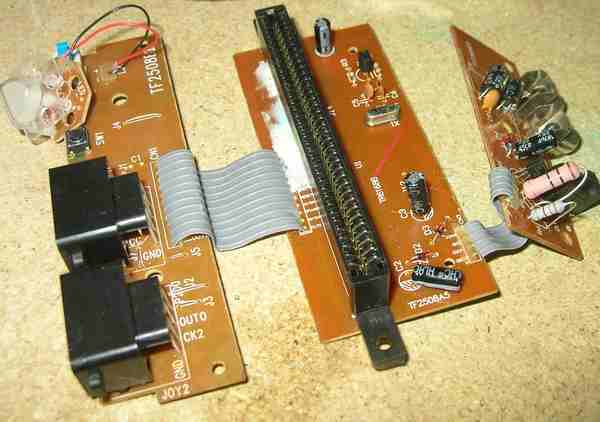
Example: There are two concerns; the power / reset switches and the RCA audio / video jacks. Both will be removed. Luckily the water damage did not spread to these side boards and the connecting cables can be easily desoldered. The large connector on the main board where most of the water damage is will not be removed. This large connector is fully uncovered and will allow the water to dry completely off of it.
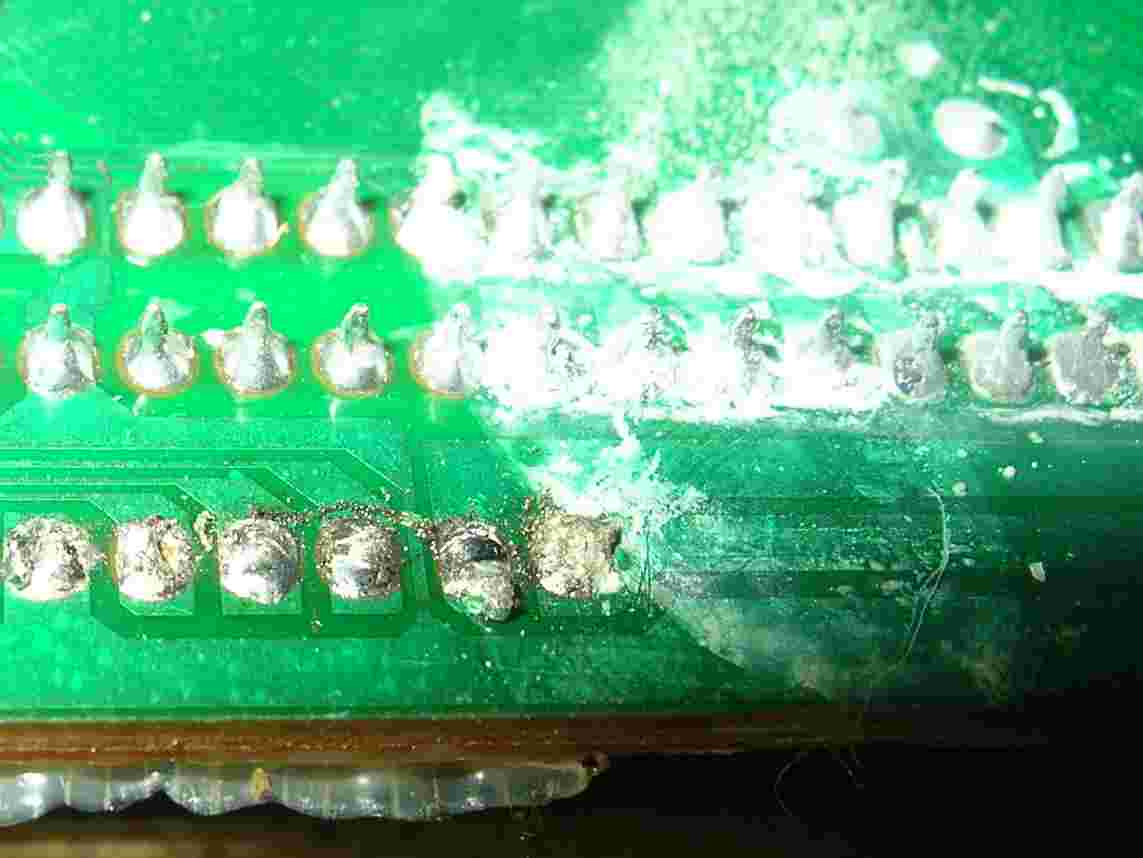
 Example: With the boards removed it can be seen that a corroded pin on the cable going to the power switch is one of the reasons this board does not power on. You can see the far right pin was so brittle from corrosion that it snapped off while desoldering.
Step Two
 Next place the circuit board in the dish washer by itself, using hot or cold water, no soap, and no heated drying. Rinse only cycle preferred.
Explanation: The high pressure water should dissolve and remove most of the salt built up on the board. We do not use the dish washer’s heated drying because it is too steamy and leaves too much water on the board.
Example: This board is small to place in the dish washer without fixing in place. In the picture you can see twist ties used to hold the board in place.
Step Three
 Use the brush to remove any residue left on the board.
Explanation: The dish washer will not get everything. Often times there will be gunk from corrosion that is easily brushed off.
Note: Don’t use a coarse brush that could scratch the metal traces.
Optional Step
 Use the non-conductive cleaning solution to dilute any water on the board. Just soak the board in the solution for a minute while agitating the water.
Explanation: This is to remove as many impurities left by the water as possible. There is a small possibility the board could corrode / collect salts in the future without this step.
Note: Do not use any cleaner that contains water or does not evaporate cleanly. Distilled water is an exception because it is pure water and is free of conductive salts & minerals.
WD40 may be used on non mechanical (moving) parts and will leave a residue behind that will seal the metal contacts from future water damage / corrosion. That same residue will make future repairs very difficult as well. Future repairs will require a complete disassembly removing every component on the board to be wiped down before anything else can be done.
Step Four
Now all that is left is to dry the board, the easiest way is air drying. Dab the board with a towel to remove any drops of water visible. Then just let the board sit for 24 hours in a dry location.
Note: As the board is drying you may notice more white residue appearing. Rinse your brush and scrub again, then continue drying.
Note: The board may look dry much sooner, but it is the areas that you cannot see on the board that are still drying.
Optional step
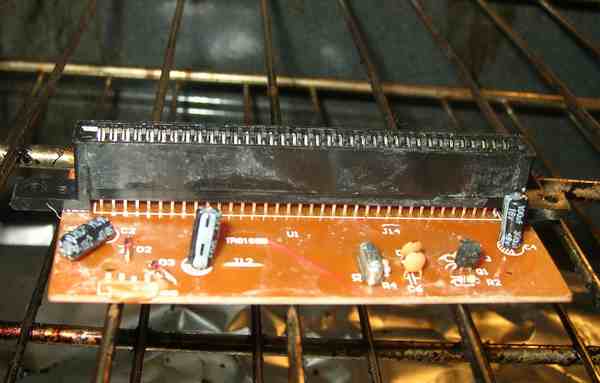
You also have the choice to speed up the drying process by using a conventional oven. It is not dangerous to put the oven on the lowest temperature (less than 200F and not the WARM setting) and leave the door open a crack. This takes 1 – 2 hours.
Explanation: The cracked door brings the temperature down further and allows more ventilation of the water vapor.
Note: Where people run into problems with this is changing the temperature higher to try to make it dry faster. They thinking they can further speed up the process by changing the temperature much higher. What really happens is the whole thing melts down or burns out sensitive components.
Note: Never use a forced air drying method like a hair dryer. The fast moving air creates friction and results in component damaging static electricity.
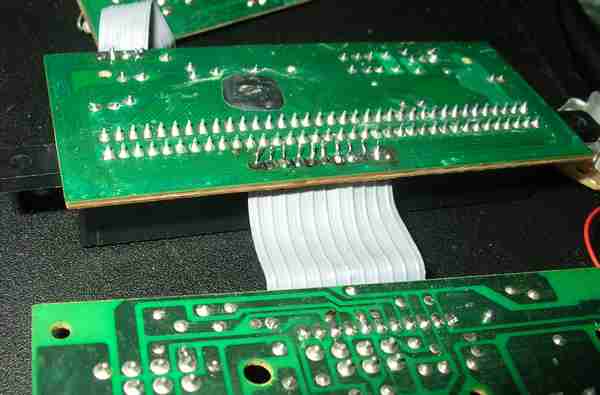 Example: After everything is finished and soldered back together things look much cleaner. The small amount of salt that is still visable is not enough to affect operation.
Finished
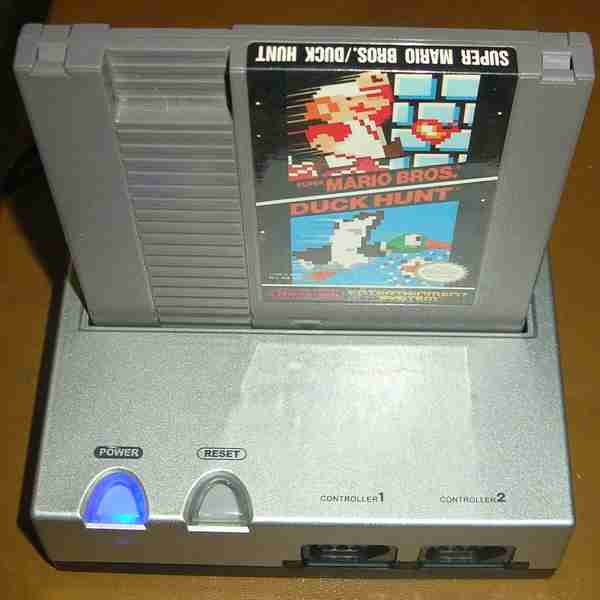 Power light is on and my brother is back to shooting ducks.